| Snub cube | |
 ' | |
| Type | |
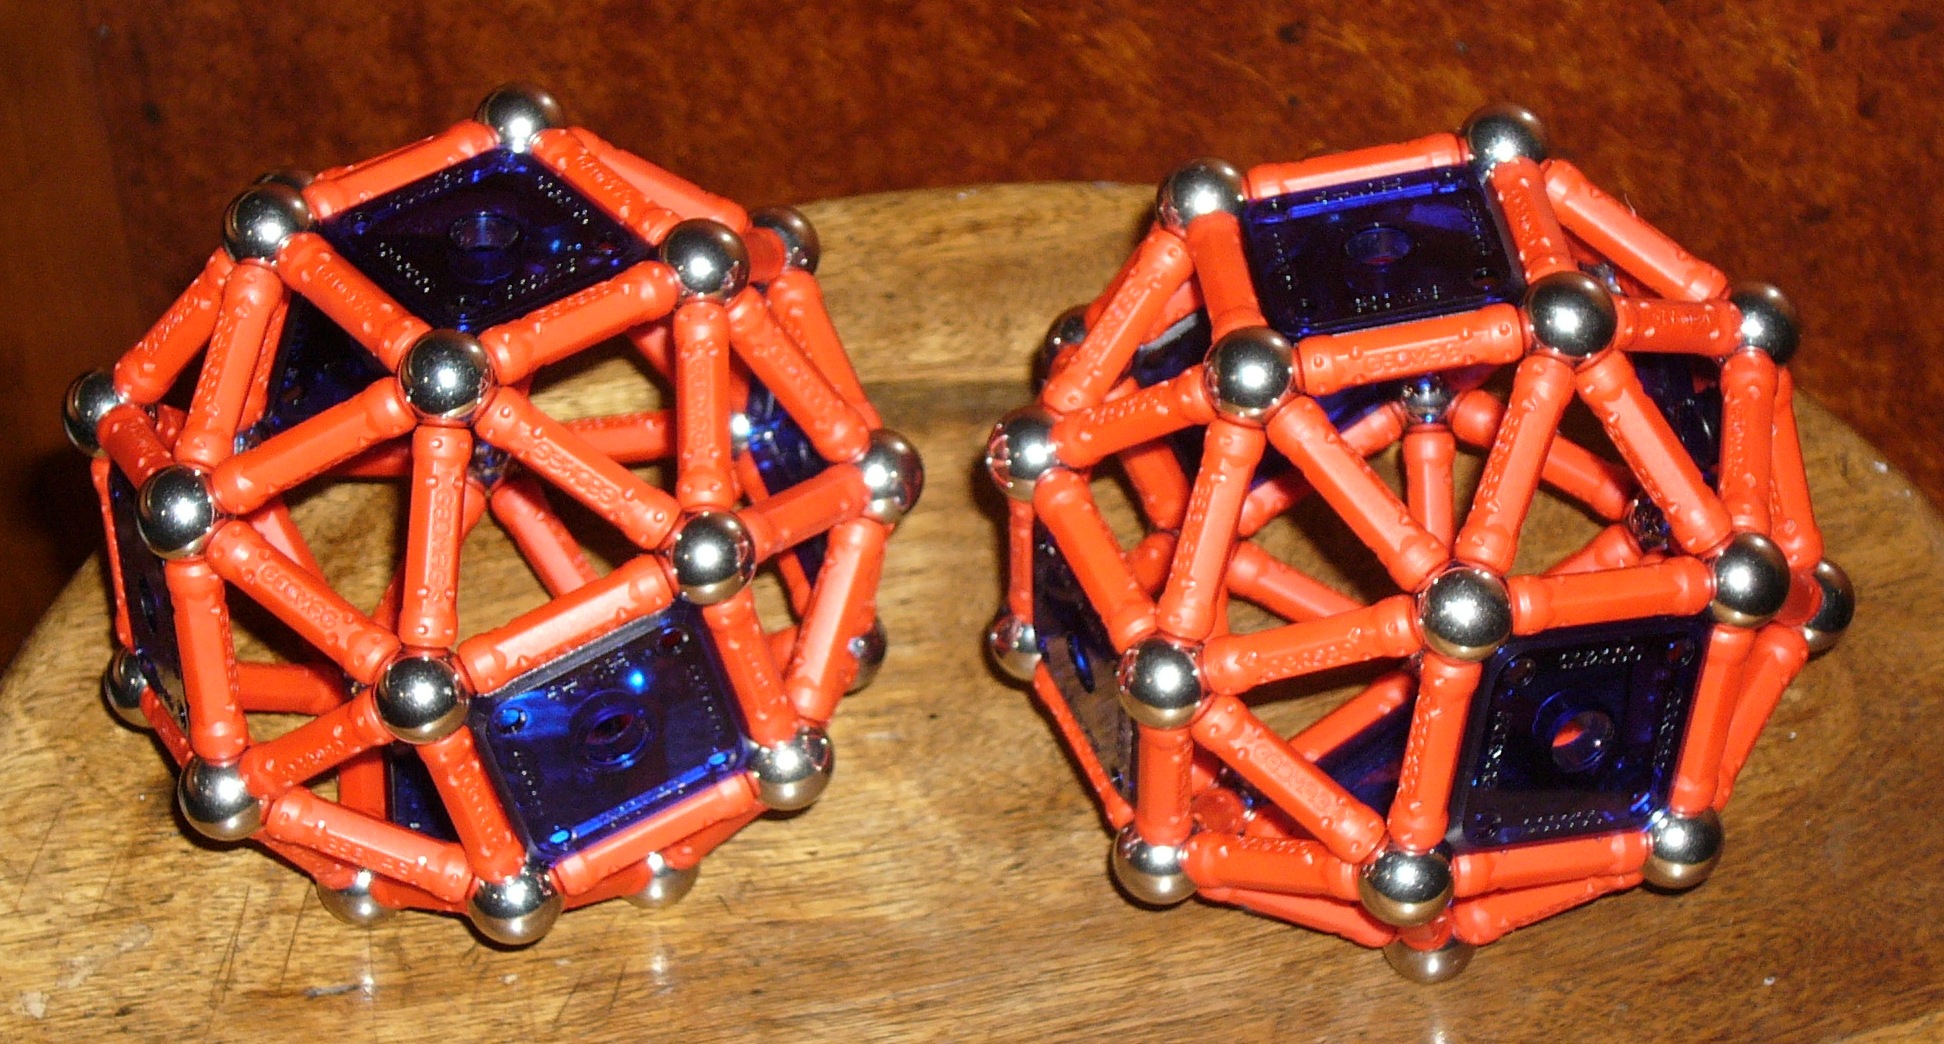
| Panels | 32 × 6 × |
| Rods | 60 (+24) × |
| Spheres | 24 × |
| Author | Rveas 22 May 2007 |
A Snub Cube takes the square faces of a normal cube, moves them away from the middle, rotates them a little and stitches them together again with triangles.
Building Instructions
Note: Follow magnetic poles in the pictures for for maximum strength of the final structure.
Note: When using the pyramids as strengthening, the 24 extra rods are required.
For this
- Build six rigid squares (either with panels or as a pyramid with four spare rods and a ball).
- Use eight rods to add triangles to the sides of the square (no balls).
- Use four of the prepared squares to make the triangles complete.
- Use four rods to connect a corner of the center square to a corner ball of the next surrounding square. Here you'll have to choose between a right-handed or left-handed Snub Cube. I'm making a right-handed one.
- Use four rods to finish the lower triangles by connecting the inner corner of each surrounding square to a middle corner of the next square, and raise the structure.
- Use four rods to complete the triangles on the inner sides of the four triangles.
- Use four rods to complete the triangles on the opposite side as the previous step.
- Use eight rods to finish the final triangles of on the side of the four squares (no balls).
- Use four rods to make another set of triangles, which corner two squares each.
- Place the final square in place.
")
1
")
2
")
3
")
4
")
5
")
6
")
7
")
8
")
9
")
10
Note: To convert a right-handed Snub Cube to a left-handed or vice versa, take away the rods shown in green and replace them perpendicular to the old position.